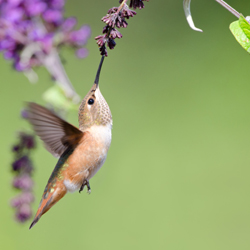
It is an awesome sight to capture a glimpse of a ruby-throated hummingbird hovering over the flower garden on a sunny summer morning. One or two a year may be seen seeking food in the landscape, sampling everything in their path. Unfortunately, they leave as rapidly as they arrive. This season, attract more of these miniature avian anomalies and keep them returning year after year.
What Hummingbirds Want
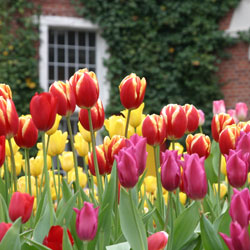
You can charm hummingbirds to your yard with a selection of their favorite nectar-producing flowers. Hummingbirds are not attracted by scent but by color. Red happens to be their favorite, however, pink, purple, blue, orange and yellow will also catch their eye. Tubular flowers accommodate these birds’ long, narrow bills. Select a wide variety of plants that bloom at different times to keep hummers well fed all season long. Refrain from using insecticides when attracting hummingbirds, as they rely on insects for protein in their diets – especially during the summer nesting season when young hummers need extra protein for healthy growth.
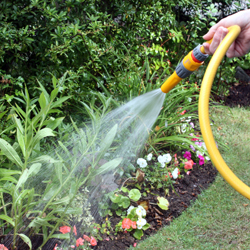
Hanging a feeder is another way to encourage these visitors. Choose one with red parts to resemble the flowers that they prefer. Fill the feeder with a mixture of one part sugar to four parts hot water to help the sugar dissolve. Fill the feeders after the mixture has cooled. Easier yet, fill with instant nectar purchased at our store. Clean feeders every 2-3 days early and late in the season, and daily in hot weather.
Plants That Attract Hummingbirds
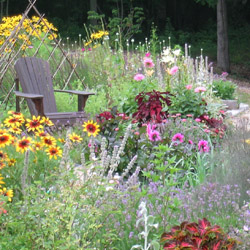
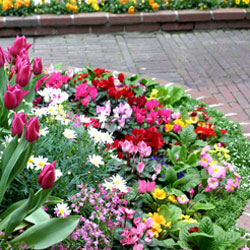
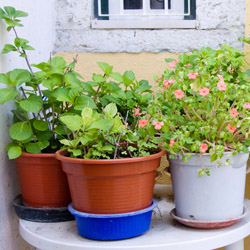
The easiest way to keep hummingbirds fed without the hassle of refilling and cleaning feeders is to provide a lush landscape filled with their favorite flowers. Fortunately, that’s easy to do because these birds will sample nectar from a wide variety of blooms. No matter what your yard size, soil type, sun exposure or moisture levels, there are plants you can add to the landscape to entice hungry hummers to stop for a snack.
Annuals
- Flowering Tobacco
- Fuchsia
- Geraniums
- Impatiens
- Nasturtium
- Petunia
- Red Salvia
- Zinnia
Bulbs
- Canna
- Gladiolus
Perennials & Biennials
- Bugleweed
- Agastache
- Bee Balm
- Beard Tongue
- Columbine
- Coral Bells
- Daylily
- Delphinium
- Gaura
- Hollyhocks
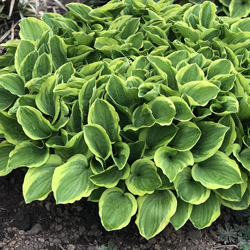
- Hosta
- Penstemon
- Phlox
- Spiked Gayfeather
- Lily
- Rose Mallow
- Russell Hybrid Lupine
Vine
- Honeysuckle
- Morning Glory
- Scarlet Runner Bean
- Trumpet Vine
Shrubs
- Honeysuckle
- Butterfly Bush
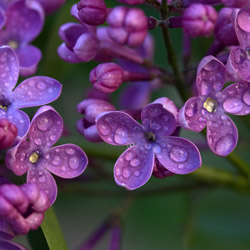
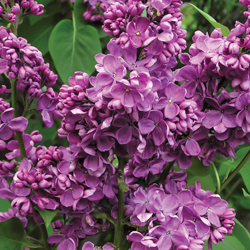
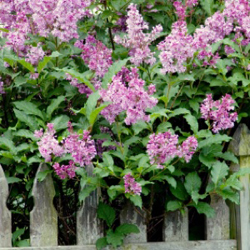
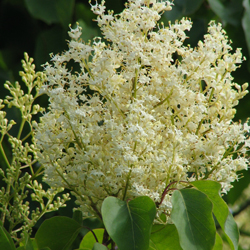
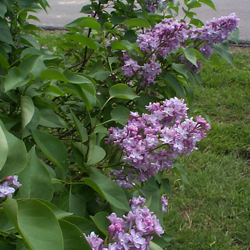
- Lilac
- Weigela
Fun Hummingbird Facts
Why not learn a little more about these fascinating birds? The more you know about their amazing abilities and unique characteristics, the more you’ll appreciate having them visit your yard!
- Hummingbirds are the smallest birds in the world.
- There are over 340 species of hummingbirds and they are found only in the western hemisphere. Most species are found in the tropics.
- Hummers can hover as well as fly straight up and down, sideways, backwards and even upside down.
- Hummingbirds beat their wings about 75 times per second.
- They can drink eight times their body weight and consume about 500 insects daily.